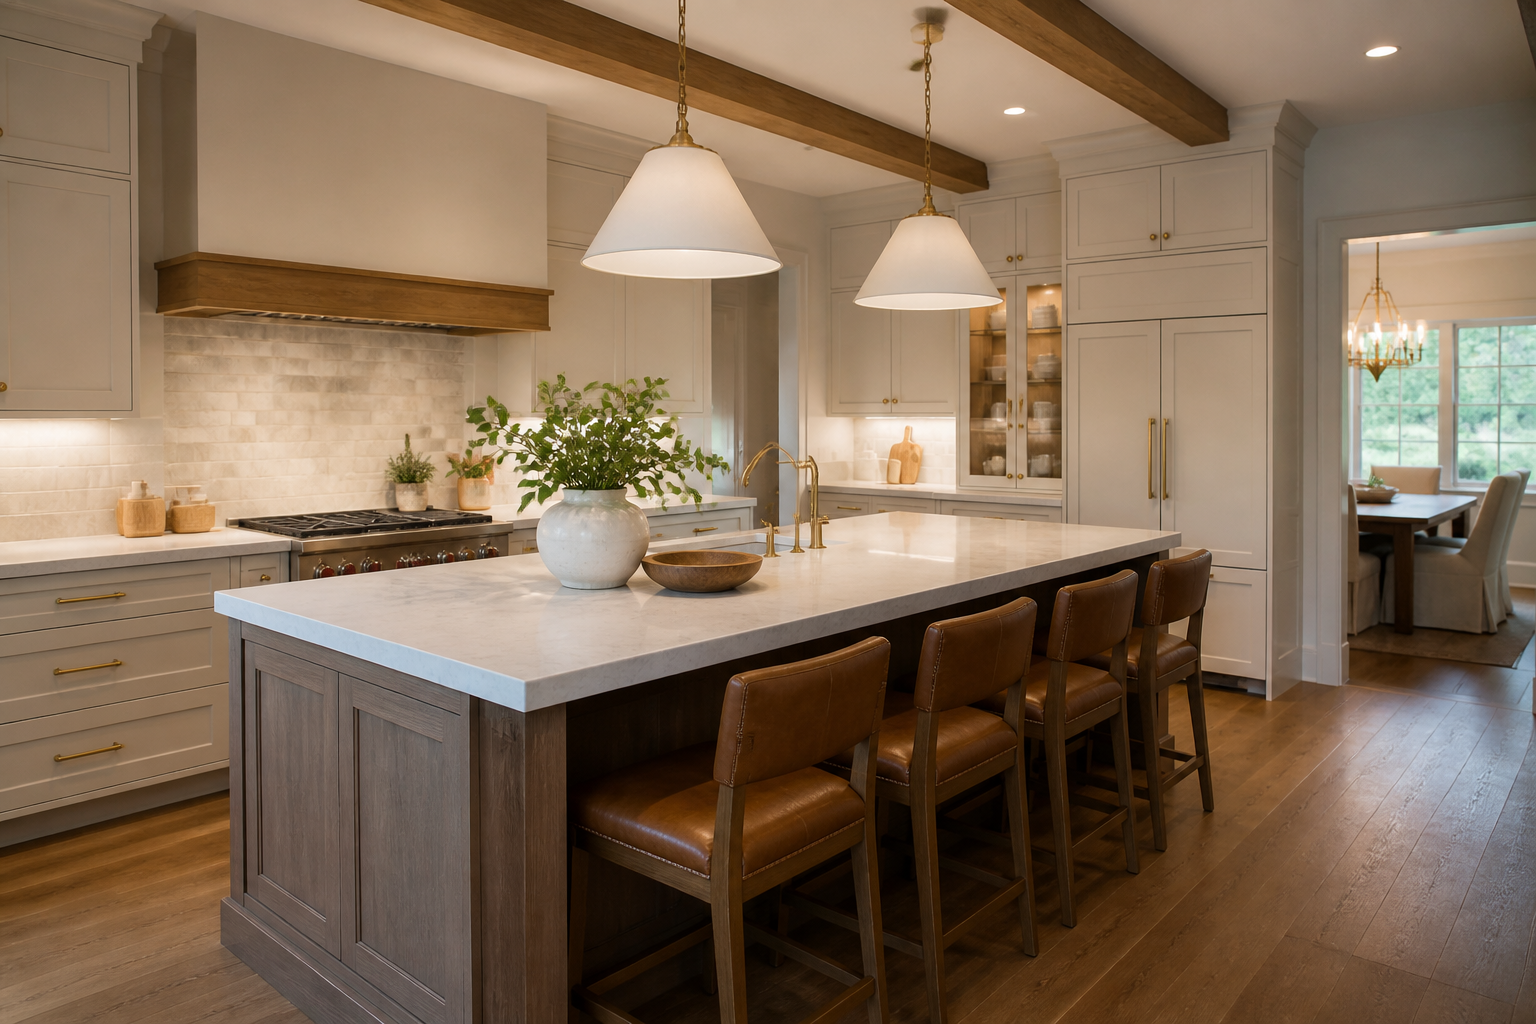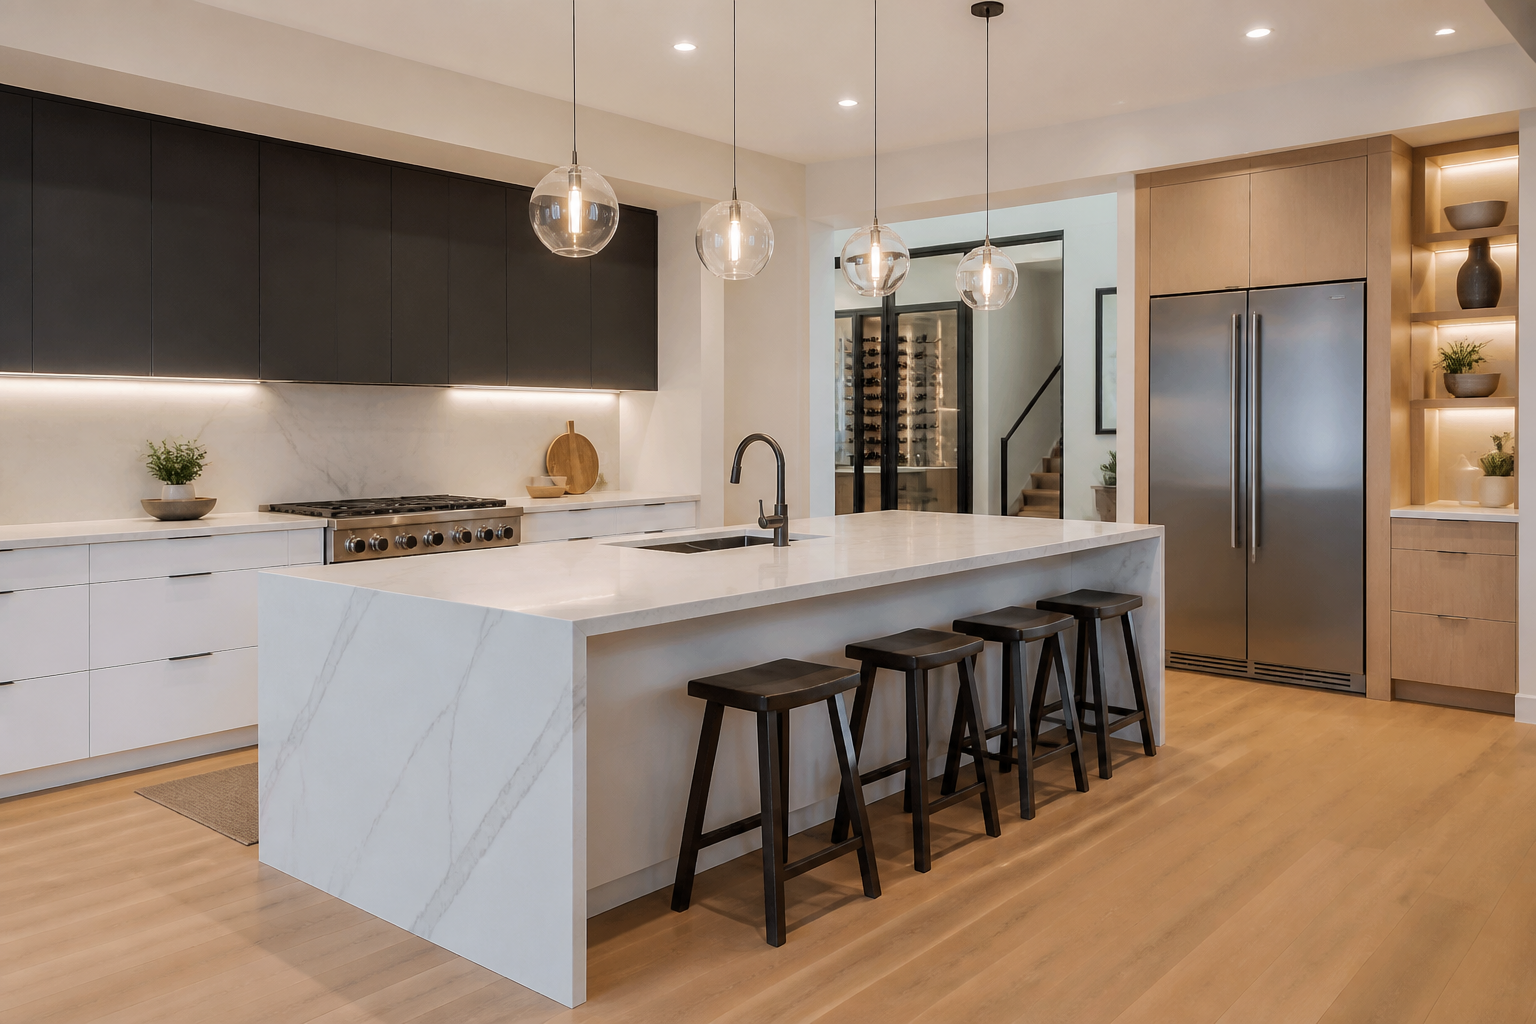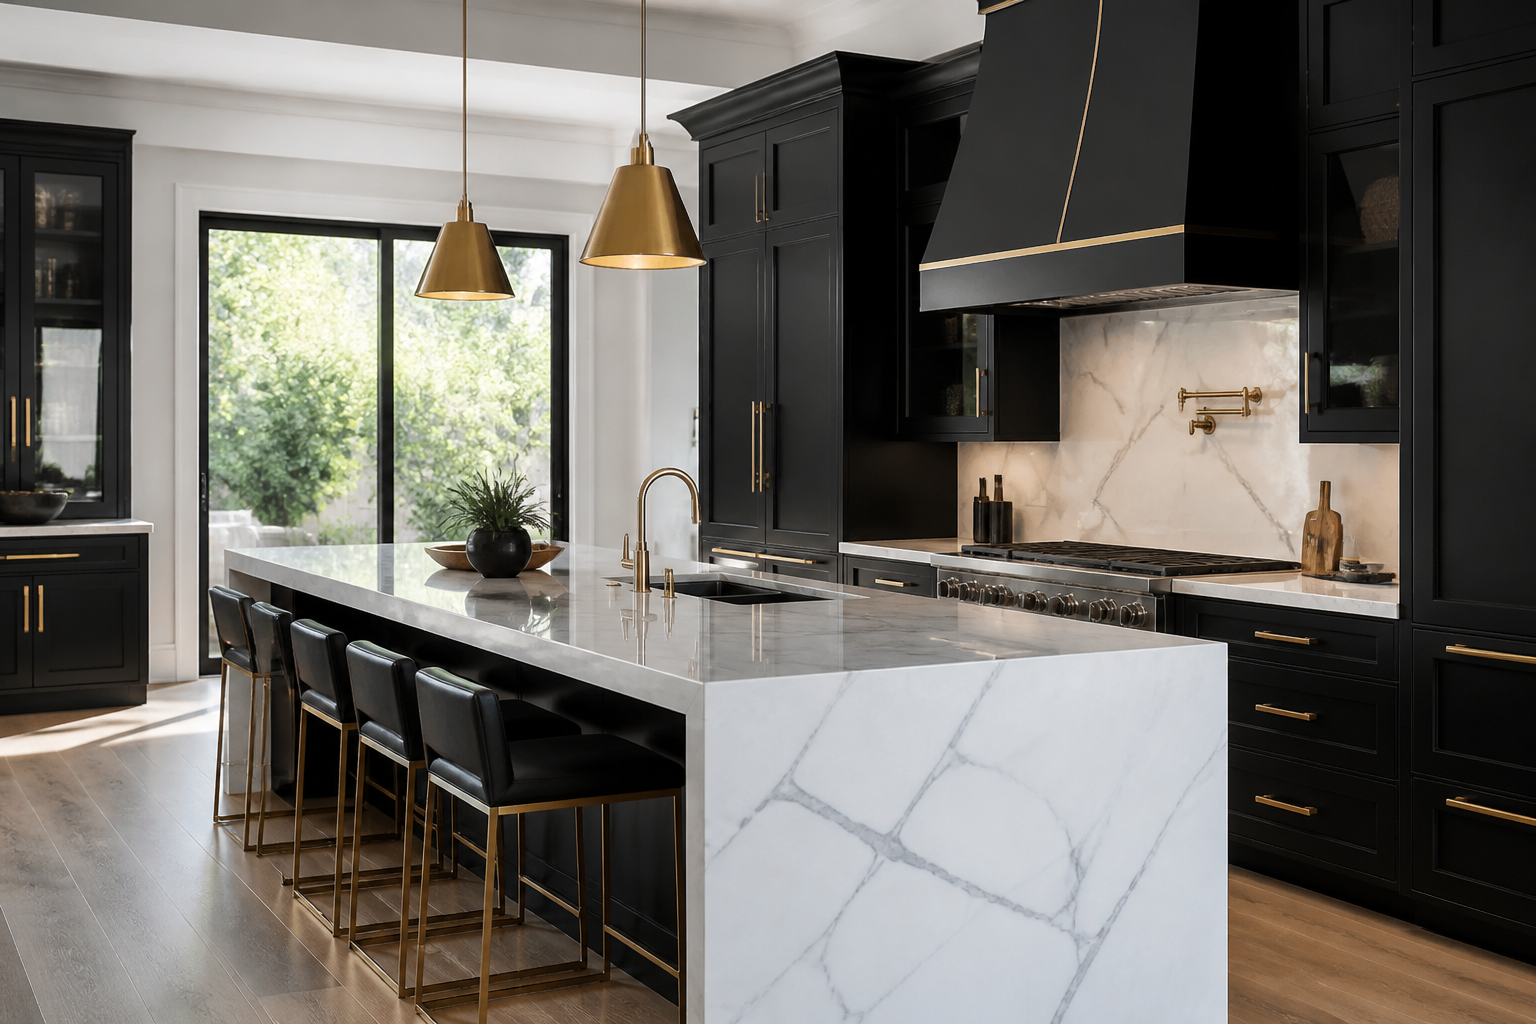
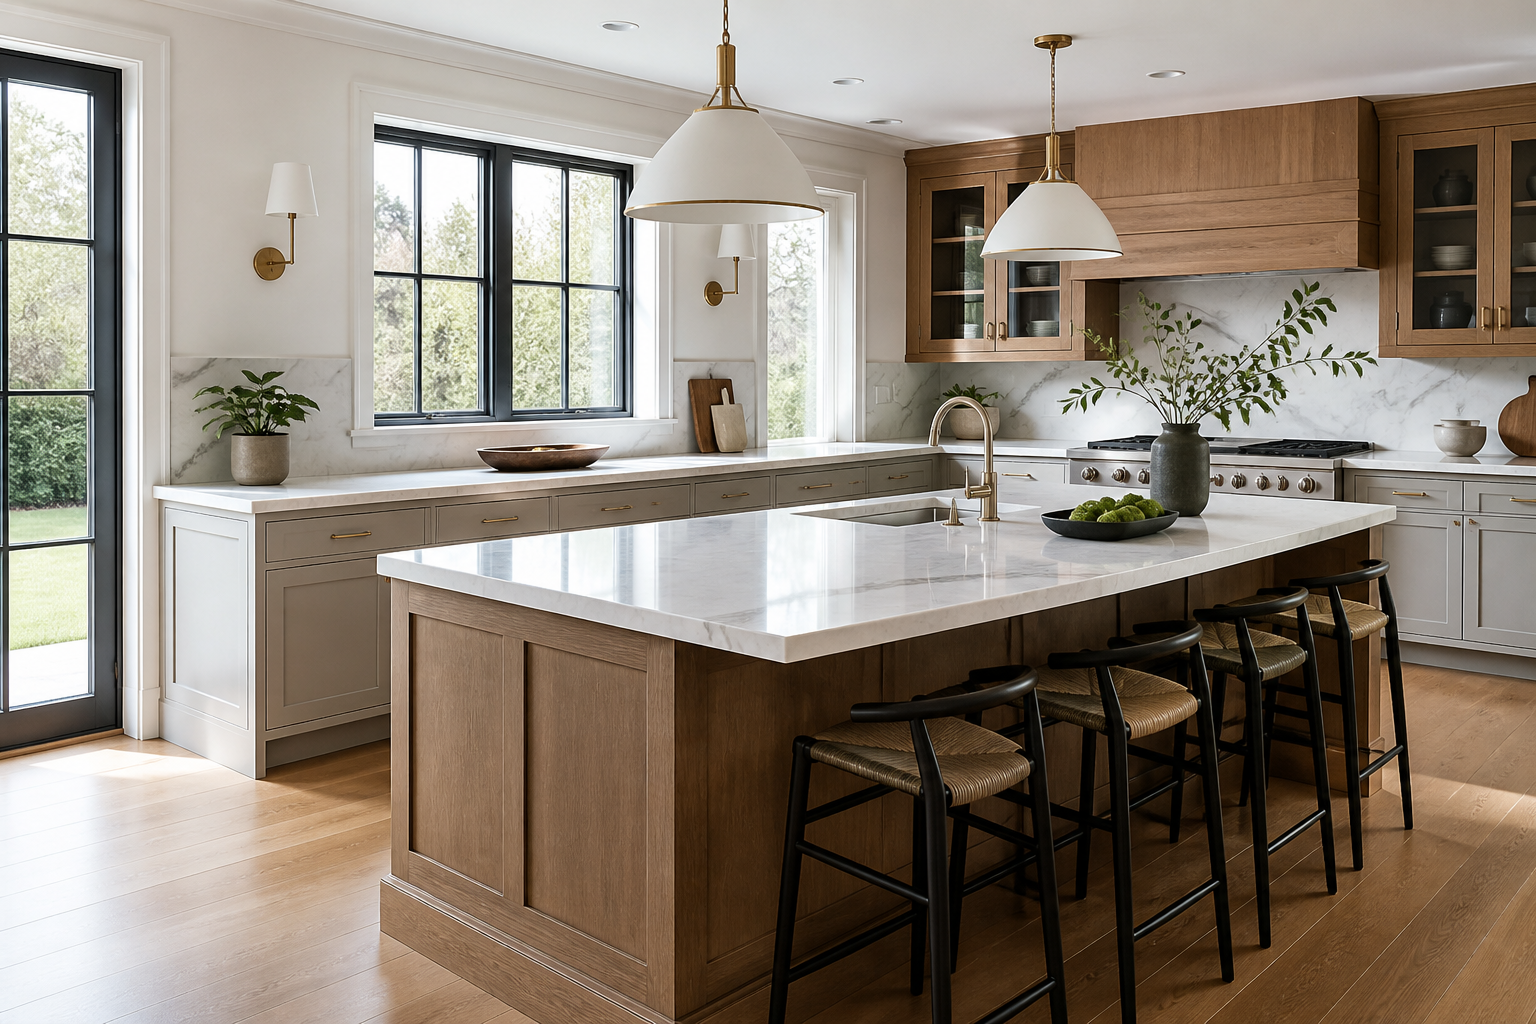
Kitchen design is not a mood board. It is a set of decisions about how you cook, clean, store food, and move through the room with other people. A kitchen that photographs well and a kitchen that works on a Tuesday night are not always the same room. If you get the layout, circulation, and storage right, almost any cabinet style can look good. If you get those wrong, expensive finishes will not save you.
Most US remodels start with a photo of the existing room and a Pinterest folder. That is a fine start. What usually goes missing is a written brief: how many people cook at once, whether you bake, whether kids do homework at the island, whether you want a second sink, and whether you can live with the current plumbing walls. This guide walks through kitchen design the way a remodel strategist would — layout first, then zones, then light and materials, then a sequence you can take to a cabinet shop or general contractor.
A photo-to-design tool such as Best Kitchen Design can sit in that process as a fast way to test styles on your walls before you buy samples. Treat the images as conversation pieces, not construction drawings.
Kitchen Layouts That Fit Real American Houses
Most houses in the United States were not built around a chef’s kitchen. You are usually working with a 10-by-12 galley, an L off a breakfast nook, a U that traps a refrigerator, or an open plan where the kitchen is one wall of a great room. Name your existing shape before you fall in love with an island you cannot fit.
A one-wall kitchen puts sink, range, and fridge on a single run. It is common in condos and open living rooms. The design problem is landing space: you need a place to set a roasting pan next to the oven and a place to unload groceries next to the fridge. If the wall is long enough, split the run with a taller pantry cabinet so the composition does not look like a hotel corridor. If you add an island, treat the island as the missing second wall — prep and seating — and keep the cooking wall dedicated to heat and cleanup.
A galley is two parallel runs. It is efficient if the aisle is wide enough for two people to pass without turning sideways. In a closed galley, aim for a comfortable two-cook aisle; in an open galley that faces a living room, the open side often becomes a peninsula or a shallow island. Do not put the dishwasher door and the oven door on opposite walls if they collide when both are open. Walk the room with cardboard door templates. It feels silly and it prevents the most common galley complaint: “We cannot stand at the sink when someone is at the oven.”
An L-shaped kitchen is the workhorse of suburban remodels. The inside corner is the trouble spot. A lazy Susan or a magic-corner unit beats a dead cabinet you never empty. Put the sink on the longer wall if that wall has the window; put the range where you have at least a small landing on both sides. The fridge belongs at the end of a run, not buried in the corner, so the doors can open past 90 degrees and so a second person can grab milk without entering the cook’s triangle.
A U-shaped kitchen stores more than an L, and it can feel like a pit if all three walls are tall upper cabinets. Break one wall with open shelves, a pass-through, or glass-front doors. If the U opens to a dining room, a peninsula with seating is often smarter than forcing a center island into a room that already has three work sides.
Islands only work when you can keep clear walking paths around them. If the leftover aisle is tight, you do not have an island; you have a blockade. A peninsula attached to a wall or cabinet run gives you seating and extra counter without creating a four-sided traffic maze. In many 1980s and 1990s houses, removing a pony wall and adding a peninsula is a better kitchen design move than chasing a magazine island.
When you compare layouts, draw the work triangle — sink, cooktop, refrigerator — and then ignore it for a minute. The triangle is still useful as a check: no leg should be so short that two people collide, or so long that you walk a marathon with a dripping colander. In open kitchens, work zones matter more: a clean-up zone around the sink and dishwasher, a cook zone around the range and nearby spices, a prep zone with the most generous empty counter, and a pantry or fridge zone that guests can reach without crossing a hot pan.
Measure once on paper, then measure again with painter’s tape on the floor. Tape the island footprint, the fridge swing, and the dishwasher door. Live with the tape for a weekend. Kitchen interior design that survives contact with a family almost always started as tape on a dirty floor.
Work Zones, Circulation, and Storage
Circulation is the unglamorous half of kitchen design. People need to enter from the garage with bags, kids need to pass through to the backyard, and someone still has to stand at the sink. Map the “desire lines” — the paths people already take — before you move a doorway. Closing a doorway to gain a wall of cabinets can be the right call, but only if you are not forcing grocery traffic through the cook’s hip.
Keep a continuous landing next to the range and the fridge. Landing is empty counter, not a decorative tray. Next to a cooktop you want space to park a hot pan; next to a fridge you want space to set a pizza box. The sink wants landing on both sides so dirty dishes and clean dishes do not occupy the same square foot. If your current kitchen fails, it is often because every surface is spoken for by a coffee maker, a knife block, and a stand mixer that never goes in a cabinet.
Storage should be planned as activities, not as “more cabinets.” Think: daily dishes within one step of the dishwasher; pots beside the range, not across the room; baking sheets near the oven; trash and recycling beside the sink, not in a walk-in pantry you will not open with wet hands. Deep drawers beat low cabinets for pots and pans because you see the whole stack. Full-height pantries beat a graveyard of upper cabinets stuffed with leftover party platters.
Upper cabinets are optional in some modern rooms and mandatory in small ones. If you remove uppers, you must replace that volume: a walk-in pantry, a taller pantry wall, or a furniture-height hutch. A kitchen that loses uppers and gains only open shelves usually looks calm on day one and cluttered by Thanksgiving. Open shelves work for a short run of everyday bowls, not for the entire grocery inventory.
Appliance choices change the plan. A 36-inch range needs more landing and a serious hood. A counter-depth fridge looks cleaner in a galley but holds less. A microwave drawer frees the counter but costs more and still needs a landing. A pot filler is charming if you actually boil pasta on the back burner; it is a leak risk if you never use it. Design the cabinet run around the appliances you will own for a decade, not the ones in this year’s showroom vignette.
Lighting belongs in the zone conversation. A single ceiling can of the 1990s is why so many kitchens feel dingy after new cabinets go in. You want three layers: ambient light so the room is not a cave, task light under cabinets and over the island so you can see a knife, and a little accent — glass-cabinet interiors, a pendant group, a picture light on a tiled niche — so the room has depth at night. Put under-cabinet lights on their own switch or dimmer. Put pendants on another. If everything is on one switch, you will never set a mood; you will only flip a garage door.
Outlets are part of kitchen interior design, not an afterthought for the electrician. Plan appliance garages, a dedicated coffee stretch, and island outlets that meet current code without a row of plastic pop-ups marching down the stone. Talk to your electrician early if you are adding an induction range, a second dishwasher, or a steam oven. Service panel capacity is a kitchen design constraint as real as window location.
Lighting, Materials, and Surfaces That Last
Materials should be chosen in this order: what takes heat and water, what you touch every day, what you see from the living room. Start with countertops and sink, then cabinet finish, then backsplash, then flooring if you are changing it. Reversing that order is how you end up with a tile you love that fights the quartz you already paid for.
For counters, quartz is the default in many US remodels because it is consistent and low-maintenance. It still has seams, and busy patterns can look dated faster than a quiet slab. Porcelain slabs handle heat better than some resins and can run up a backsplash for a clean modern look. Butcher block is warm and repairable; it is a bad primary landing beside a sink unless you like oiling wood. Marble is beautiful around a baking zone and fussy as the family dump-zone. Granite remains a solid choice if you pick a movement you can live with for fifteen years, not a remnant that won a showroom lighting contest.
Cabinet finishes do more for kitchen interior design than any decorative stool. Painted cabinets show chips on edges; factory-painted doors usually wear better than a weekend brush job. Stained wood hides wear and brings warmth to a white or gray house. Thermofoil can peel near a poorly insulated window or a heat source. Specify finishes the way a shop does: sheen, sheen, sheen. A soft matte hides fingerprints on mid tones; a higher sheen on a dark door can look wet and show every streak.
Hardware is the jewelry, but it is also ergonomics. A cup pull on a heavy drawer is easier than a tiny knob. A long bar on a wide drawer keeps two hands honest. Finish should relate to the faucet and the pendant metal, not match them like a branded set. Mixed metals look intentional when one metal dominates and the second shows up two or three times.
Backsplashes protect drywall and give the eye a pause. A full-height slab backsplash is quiet and easy to wipe. A handmade tile adds texture if the cabinets are simple. A busy tile plus a busy counter plus a busy floor is visual noise. Pick one surface to be the character actor.
Floors in kitchens need to tolerate grit from the garage and spills from the sink. Large-format porcelain can mimic stone or oak without the denting of soft wood. Engineered hardwood can work if you accept some wear. Luxury vinyl is honest in a rental or a kid-heavy house; it looks cheap when it tries too hard to be marble. Run flooring under the cabinets if you might change the layout later; stop it at the toekick if this footprint is permanent.
Windows and sightlines are free luxury. If you can raise a window over the sink, do it before you order upper cabinets that bury the glass. If the kitchen opens to a living room, the back of the island and the ends of cabinet runs become furniture. Finish those sides. A raw cabinet end facing the sofa is a design miss you will see every evening.
Color temperature of bulbs should be consistent. Mixing cool daylight cans with warm pendants makes food and faces look wrong. Pick a family of bulbs and stick to it. Dimability matters more than most people think. A kitchen used for homework at 4 p.m. and dinner at 7 p.m. is two different rooms.
A Practical Kitchen Design Sequence
A good kitchen design process is boring on purpose. It prevents you from buying tile in March and discovering in June that the dishwasher door hits the new island stools.
Start with a use brief. Write down who cooks, who packs lunches, whether you entertain standing up, whether you need a seating island or a table, and what you refuse to live without (a gas range, a window, a pantry closet). Photograph every wall, including the ceiling and the outlets. Measure the room, window heights, and the locations of water, gas, and the vent run. If you are not handy with a tape, a designer or a cabinet shop will do this; do not trust a listing measurement.
Next, lock the plan. That means appliance sizes, island or no island, seating count, and whether plumbing or gas will move. Moving a sink across the room is a different project than replacing cabinets on the same walls. Moving a range often means a new hood duct and a roof or sidewall penetration. Get a plumber and an HVAC person to walk the house before you fall in love with a rendering.
Then test the look. This is where an AI visualization of your actual photo is useful. Upload a clear, well-lit picture of the kitchen to Best Kitchen Design, try two or three directions — warmer wood, painted shaker, darker modern — and print the ones that still feel like your house. Take those images to a showroom so you and the salesperson are pointing at the same idea. Do not treat the AI output as a shop drawing. It will not know your joists, your code, or the fact that your dryer vent already owns that exterior wall.
After the look is narrowed, select materials in person. Screens lie about gray undertones. Hold cabinet doors next to slabs in daylight and at night. Order a sink and faucet early; they affect counter fabrication. Confirm lead times. Painted custom cabinets and quartz can both eat months.
Finally, sequence the trades. In a typical full remodel: demo, rough plumbing and electrical, any window or wall changes, insulation and drywall, flooring or at least underlayment, cabinet set, counters, backsplash, remaining electrical, plumbing trim, paint, hardware, appliances. A kitchen designer or an experienced GC owns that order. You own the decisions that would stop the job: appliance model numbers, stain samples, grout color. Make those decisions before demo if you can. Change orders are how a calm budget becomes a story you tell at dinner parties.
Budget like a homeowner, not like a TV show. Keep a reserve for the surprise behind the wall — water damage, out-of-level floors, a panel that cannot take another 40-amp circuit. Spend first on layout, ventilation, lighting, and cabinets. Save last on stools and a pot rail. Those are easy to upgrade. A hood that does not vent outdoors is not.
If you only remember four kitchen design rules: keep walking paths honest, give every appliance a landing, light the work surface, and finish the sides people see from other rooms. Style is the layer you apply after the room already works.
Frequently Asked Questions
What should I decide first in kitchen design?
Decide how the room must work: who cooks, whether you need seating, and whether plumbing or walls can move. Layout and appliance sizes come before cabinet color. Color is the easy meeting. The hard meeting is the floor-tape meeting.
How much space do I need around a kitchen island?
You need enough aisle that two people can pass and that appliance doors can open. If tape on the floor already feels tight, choose a peninsula or a table instead of a center island. An island that blocks the fridge is not a feature.
Is the work triangle still relevant?
Yes, as a check, not as a religion. Keep the sink, cooktop, and fridge in a reasonable walk of each other, then plan zones so guests can get a drink without crossing a hot pan. Open kitchens need zones more than they need a perfect triangle.
Can I redesign my kitchen from a photo?
A photo is enough to test style, lighting mood, and cabinet color on your real walls. It is not enough to order cabinets. Use a tool like Best Kitchen Design to explore looks, then have a shop or designer measure and produce a plan with elevations.
What is the difference between kitchen design and kitchen decorating?
Design is layout, storage, lighting, and how trades will build the room. Decorating is stools, a rug, and a bowl of lemons. Do the first job thoroughly. The second job is easy if the first one is right.
See Your Kitchen Before You Remodel
If you want to test layouts and finishes on the room you already have, upload a photo at bestkitchendesign.com/create. Best Kitchen Design turns that picture into photorealistic options in about a minute so you can compare styles before you write a cabinet check.
Subscriptions run through Polar: Mini at $14 a month for a single-room sprint, Personal at $18 if you are designing more than the kitchen, and Premium at $36 if you need a high volume of options. Compare plans on pricing, pick a direction you can live with, and take the images to your contractor as a clearer brief than a folder of unrelated screenshots.